Call Now
(951) 680-9595

2020-2021 Jeep Gladiator JT
2005-2021 Toyota Tacoma
Tools Required
Begin by opening up all pieces included and inspecting them prior to install. If you are missing any components or have any questions prior to your install, please contact the company the item was purchased from.

Hardware Included:
Lay down each bedside section and using the provided foam, place the foam onto the bottom side of the section.
Note: Some sections may need to be trimmed slightly. You can use standard scissors for this.


You are now ready to mount the side sections to the truck. For both the Gladiator and Tacoma, you will need to have the factory optional slide rails.
Tacoma: Remove the end caps for the slide rails by pressing on the face and pulling back.
Gladiator: Using a T25 torx bit, remove the front caps on the two side rails.


Once caps are removed, take 6 of the black slide nuts and insert them into the rails. Position three near the rear, and three in the front with the threads pointing to the center of the bed.
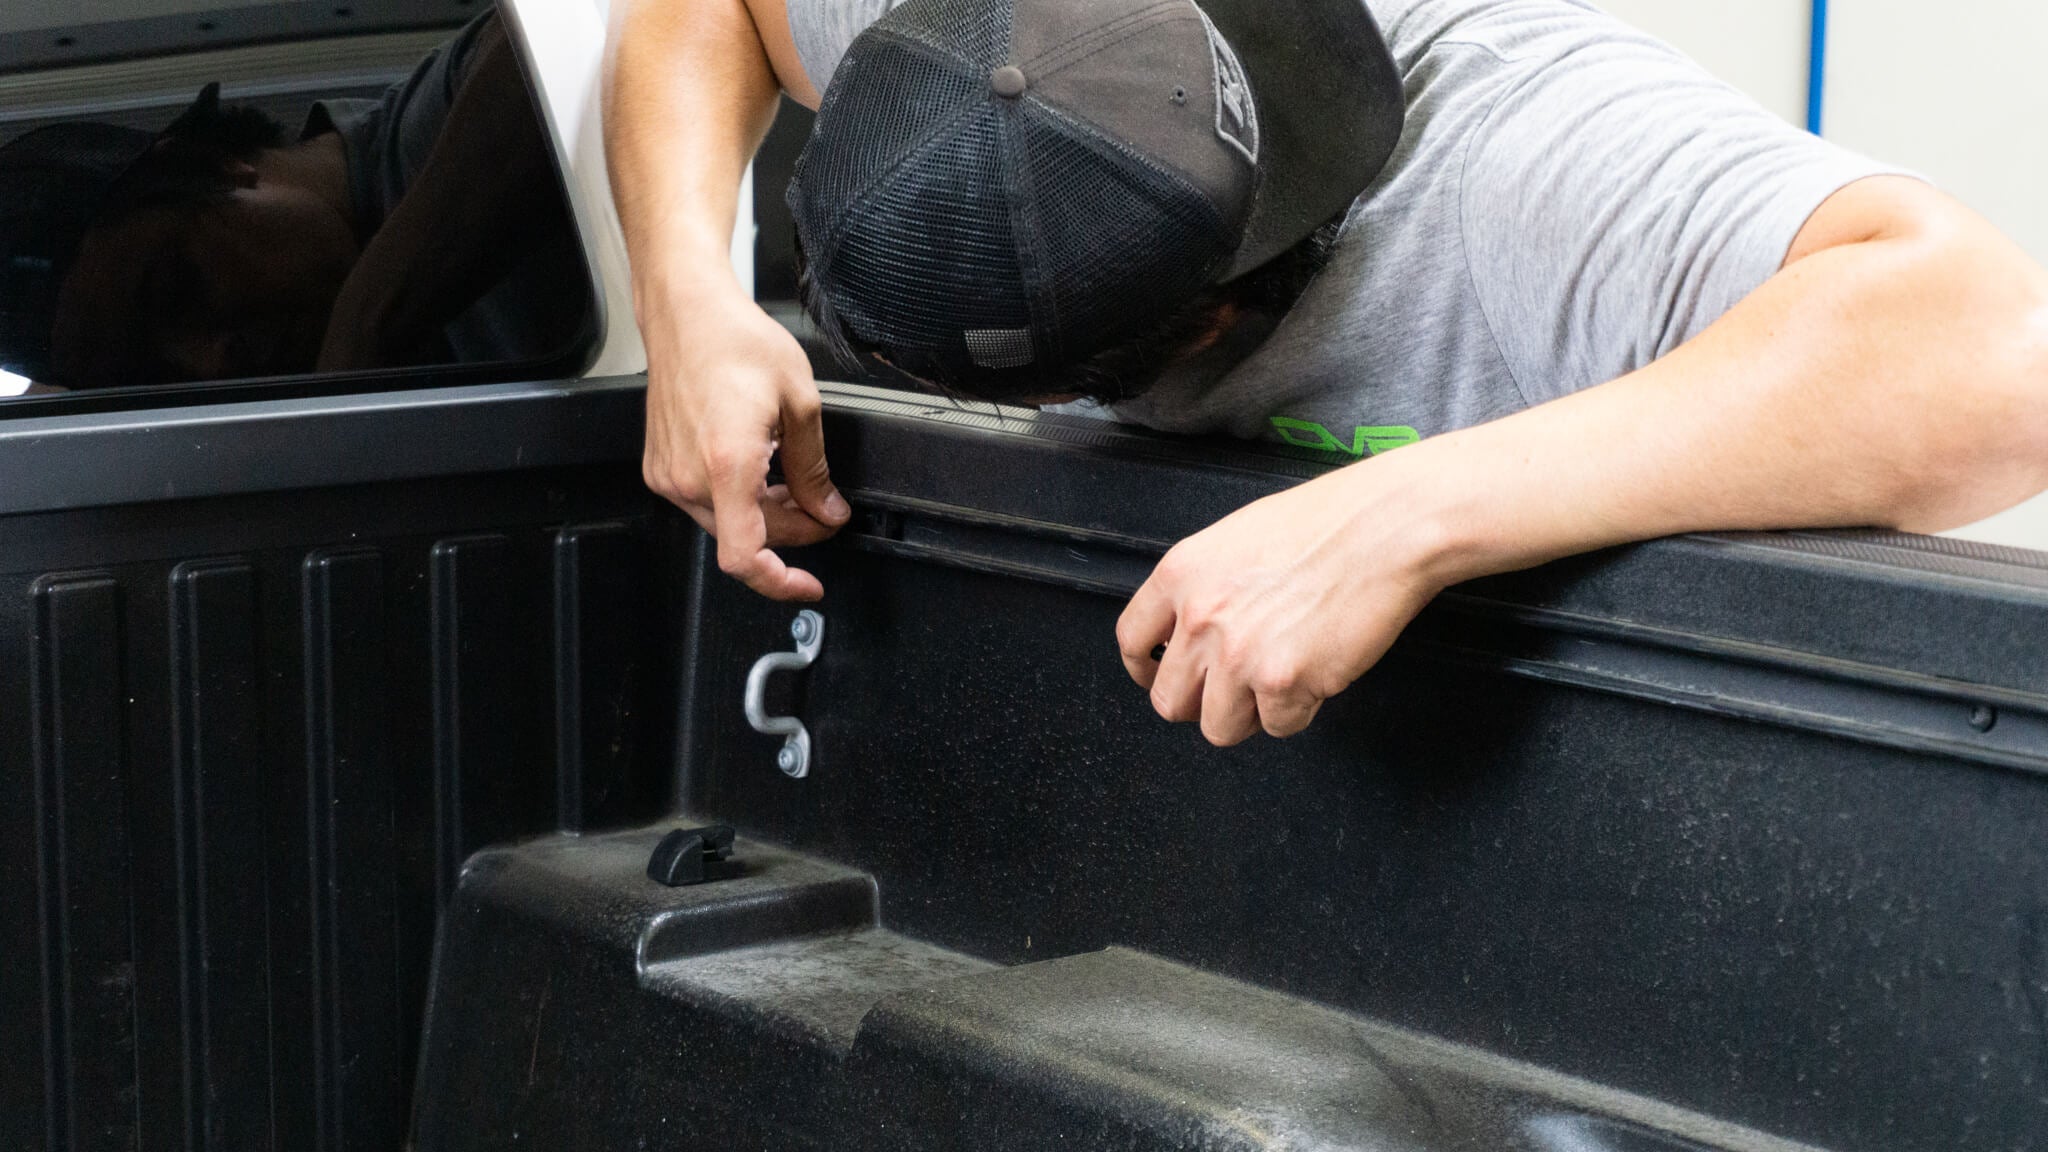

Place the front section (driver or passenger) over the slide bolts, and secure with the provided M8 washers, lock nuts, and nuts. We have included optional D-Rings that can be added to these mounting points. If using the D-Ring, you will want to place this on the slide nut first as shown.


Continue this same process for the opposite side ensuring that they are equal distance away from the cab.

For the rear sections, move the slide brackets into place so that the rear section on each side is no less than 3 inches from the front section. The distance will depend on vehicle and bed length. The install will be the same as the fronts.

We included some optional Rotopax mounts with our kit. These are designed to be used instead of the D-Rings, and to be place on the back two mounts of the rear section. Note: This kit does not include the Rotopax or the Rotopax twist mount.


Once all 4 sections are in place and secure, install the two cross brackets using the provided M10 hardware with the cross bracket with the light opening in the rear. These can be adjusted depending on your setup.
Note: The optional light to be used in the rear cross bracket is our 6” Single row light (BS6E30W5W).


Once the two cross brackets are in place, the last piece to install is the provided (optional) Hilift mounts. Using the remaining M10 hardware, these are designed to be mounted to the outside of the rack with one mount on the front half, and one on the rear. These will be moved and adjusted depending on the size of your Hilift.


You are now done with the install of your new DV8 8” Adjustable Rack.

Leave a comment